- Inflatable tents provide a unique, convenient shelter option for campers and outdoor enthusiasts. With just a few steps, these tents “pop up” using an integrated air beam system instead of traditional tent poles. However, first-time users may find the inflation process confusing without guidance. This tutorial will provide a complete overview of inflatable tent setup, key features and ideal usage scenarios to help you make the most of these novel temporary structures.
Getting Started: Parts of an Inflatable Tent- While specific components vary across manufacturers, inflatable tents share common pieces:
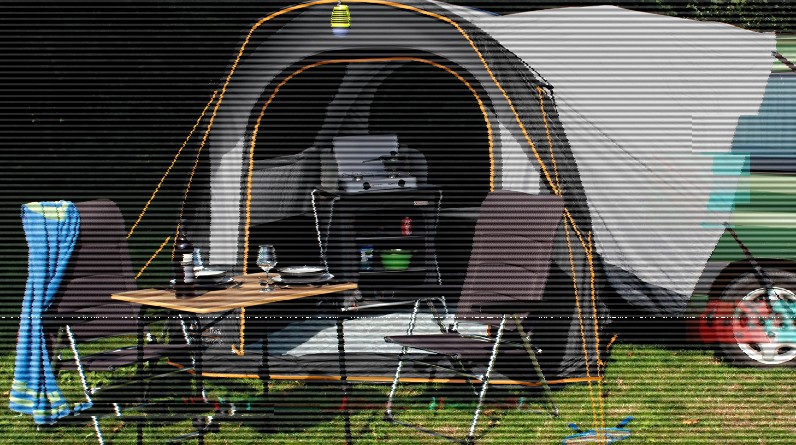
- Air Beams: Inflatable plastic beams give the tent structure. Most tents have 2-4 large beams crossing the ceiling with smaller beams around the sides.
- Flysheet: The outermost rain fly layer shields the rest of the tent, often secured with buckles and hooks around the air beams.
- Base Tubes: Some tents include bottom air tubes that get staked to add stability or double as sleeping pads.
- Floor: Attached ground sheets keep moisture and debris from seeping inside.
- Windows and Doors: Mesh screens increase airflow while keeping insects out when doors are open.
- Step-by-Step Setup Instructions
Follow these steps when erecting an inflatable tent at a campsite:
Find an Appropriately Sized Flat Spot
Clear loose stones, sticks and other sharp debris. Avoid uneven ground or areas prone to puddling during rain.
2.Unpack and Position the Tent
Unroll the tent floor and unfold into place so doors line up properly. The valves for inflation should be inside and accessible.
3.Secure the Ground Floor
Hook, peg or stake down floor edges so the tent holds its shape when inflated. Some models incorporate weighted bags or bottom tubes instead of ground tethers.
4.Close Doors, Windows and Vents
Make sure any mesh openings have airtight covers in place so air does not escape while pumping.
5.Attach the Pressure Gauge and Pump
Air pumps often come integrated into inflatable tent packages. Connect a pressure gauge to valves to monitor progress.- Inflate All Air Beams
One at a time, inflate the support beams to a uniform firm pressure between 7 and 10 PSI. Pressure may be adjusted later to find preferred tautness or slack.
7.Monitor Shape and Make Adjustments
As tubes fill, the tent should take an even, rectangular form. If tilt or sagging occurs, let air out and re-position that air beam as needed.
8.Attach the Flysheet Layers
For multi-layer tents, attach all outer rainfly assemblies using the connecting buckles once underlying tubes are fully inflated.
9.Secure All Tether Points
Stake or secure all floor edges, connection points and guy lines across the tent exterior to reinforce overall stability.
Helpful Usage Tips
Follow these inflatable tent best practices once set up:- Maintain even pressure across all air beams and re-inflate if sagging occurs on one side.
- Utilize all connection points provided for ratchet straps or guy lines to improve wind resistance.
- Anchor with more stakes and weights in high-wind areas or when privacy room dividers are installed.
- Use included tent repair kits promptly for any punctures to avoid deflation.
- Allow thorough airing out and drying after rain or humidity build-up inside to prevent mold.
- The convenience of nearly instant setup makes inflatable tents ideal for short-term excursions like weekend camping trips or outdoor festivals. Advancements in durability also make them suitable for extended living situations when frequently moved like overland adventures or scientific expeditions. Just be sure to follow all usage tips to prolong the life of your inflatable shelter.
With this comprehensive inflation tutorial, you should now feel fully prepared to efficiently pitch and properly maintain an inflatable tent. Enjoy the easier assembly and built-in comfort these innovative structures provide out on the trails or campgrounds!
- Inflate All Air Beams