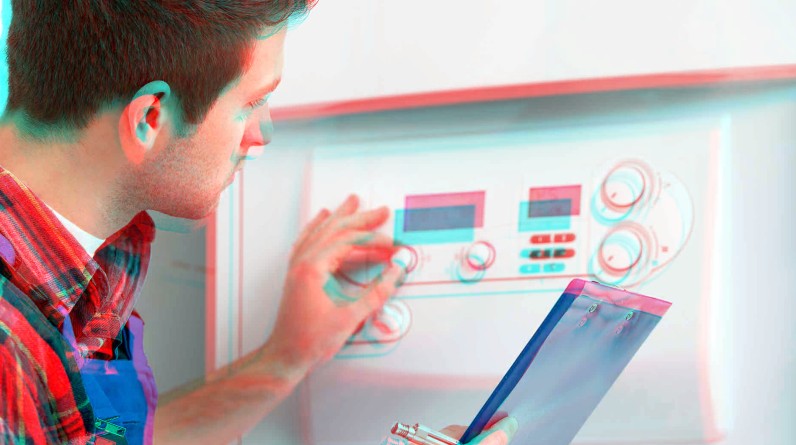
The tub-style pluckers offer significant benefits over hand culling or some other technique for de-padding a chicken or different birds.
In the event that not utilized well, mechanized drum-style chicken pluckers will wound your chicken meat, making it not have that extraordinary look of a clean culled chicken. As well as demolishing your meat, utilizing a computerized chicken plucker can cause wounds in the event that the spread-out directions are not followed well.
In this article, we investigate how to utilize a chicken plucker.
Preparing
Handling chickens, ducks, turkeys, and other poultry includes a progression of exercises. These are dazzling/butchering, singing, feather culling destruction, washing, and chilling.
The chicken plucker comes in at the de-padding stage and works intimately with the scalder. A chicken that isn’t singed as expected can’t be culled as expected. This implies for the chicken plucker to take care of its business competently, the scalder needs to work really hard.
For you to utilize a chicken plucker you will require the accompanying setup.
- Power source.
- Endlessly water hose.
- Scalder.
- Power Source.
You will require some type of electric power hotspot for your chicken plucker. There is a ton of water sprinkling around while flooding the plucker. In this way, the power attachment ought to be in a position where water won’t get in. This is to keep away from wounds because of electric shock.
Endlessly water Hose.
Culling relies upon the water getting into the tub of the plucker as culling goes on. The water washes down the plumes from the chicken and the plucker into the quill chute.
Some pluckers accompany a hose connector, where you can interface a water hose. Other pluckers don’t accompany a hose connector.
You should hold the hose while the plucker is running. Some poultry managers don’t really want to associate the hose to the plucker so they can move the hose around to other handling stations where water is required.
Scalder.
While scalders are not a piece of the chicken culling movement, they are basic to culling. You can’t put a chicken that has not been signed into the chicken plucker.
The scalder is set at a protected distance, between the killing station and the scalder. This was once the chicken is taken from the killing cone, it is set into the scalder, then, at that point, onwards to the plucker.
The scalder ought to be put where you won’t stumble into the wires as you move around. This is on the grounds that the scalder has boiling water that can cause mishaps.
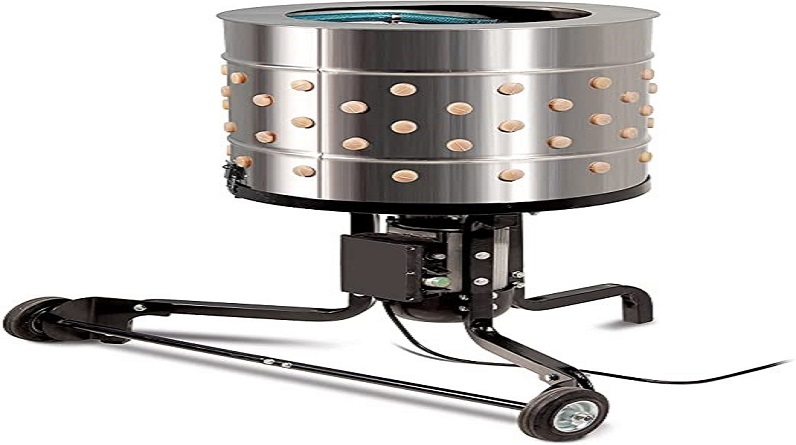
Putting the chicken plucker in the right area.
The area of the plucker is significant for safe and peaceful handling. It ought to be on level ground that channels well.
While the plucker is working, there is a ton of shaking as the engine is moving. A ground that isn’t steady could result in the plucker spilling.
There is likewise a ton of water utilized in the plucker and requirements to deplete so as not to make the ground spongy.
The area is the plucker ought to be half the gutting station and the scalder. Setting the plucker is way is advantageous on the grounds that you could have to utilize a similar water hose at the gutting table.
Turning on the chicken plucker.
Subsequent to putting the plucker on a level ground that channels well, the time has come to make it work. Interface the water hose before you turn on the plucker. Getting water to the plucker is known as the water system; The water helps wash feathers from the chicken and the plucker’s fingers during the culling system.
Some pluckers, for example, the yardbird plucker accompany a ground shortcoming circuit interrupter. This is a well-being highlight that guarantees that everything power is utilized by the plucker’s engine and isn’t delivered to the wet ground around the plucker.
Before you turn on the plucker, you need to press the reset switch on the ground shortcoming circuit interrupter switch. Without doing this the plucker won’t turn on. When you do a pre-activity wellbeing check, the time has come to drive the plucker. Flip on the change to the on position.
The engine will come on and the plume plate will begin pivoting. If it’s not too much trouble, note that as of now there is no chicken in the plucker. Putting chickens in the plucker, while the plucker is off will build how much power is drawn from the engine. This will ultimately diminish the lifetime of the electrical parts of the plucker.
Inundating the chicken plucker.
The subsequent stage is flooding the plucker. This implies turning on the water system ring. This is a ring around within top of the plucker that permits water to get uniformly get into the plucker.
When the plume plate is turning and water is running into the plucker, the time has come to get the chicken culled.
Moving chickens from the scalder to the chicken plucker.
With the plucker running, It is an ideal opportunity to get the chicken in. Move a chicken that has been singed at a temperature of 130 degrees Fahrenheit and 170 degrees Fahrenheit for between 30 seconds and 2 minutes into the plucker. Recall singing isn’t heating up the chicken, yet presenting the skin to the right temperatures to relax feathers.
Move the chicken promptly from the scalder to the plucker. Assuming you postpone the chicken will turn out to be firm and safeguard a portion of the plumes from the plucker fingers. The chicken ought to be put in a plucker that is turned on. Try not to put live chickens in the plucker. Tenderly lower and drop the chicken into the plucker. Try not to allow your hands to come into contact with the moving parts. Try not to toss the chicken into the plucker.
As the plucker is working. See to see that the plumes are completely eliminated. If appropriately singed, the plucker will cull all quills including the obstinate tail feathers. The culling activity ought to require between 15 seconds and one moment.
If it’s not too much trouble, note that before each ensuing activity, you should let the plucker run for around 2 minutes prior to setting the chicken. This is to permit the quills to be washed off the fingers, and the plume plate into the plume chute.